If you’re planning to paint your cabinets, proper preparation is essential for achieving a smooth and professional finish. Sanding is one of the key steps in this process. Choosing the right grit sandpaper can make a significant difference in how well the paint adheres and how smooth the final result looks. In this guide, we’ll walk you through everything you need to know about what grit to sand cabinets before painting and how to do it correctly.
Why Sanding Cabinets Before Painting is Important?
Sanding your cabinets before painting serves many purposes:
- Removes the old finish: Whether your cabinets are stained, painted, or varnished, sanding is important. It removes the old finish and prepares the surface for new paint.
- Smooths imperfections: Sanding removes scratches, dents, and flaws. It makes the surface smooth for painting.
- Enhances paint adhesion: Paint adheres better to a sanded surface, preventing chipping and peeling over time.
- Reduces surface contaminants: Sanding gets rid of grease, dirt, and other residues that can affect paint adhesion.
Choosing the Right Grit Sandpaper for Cabinets
The grit number of sandpaper refers to the rough of its abrasive particles. Picking the right grit is important for the best results.
Coarse Grit (40-60 Grit): Removing Thick Finishes
If your cabinets have a thick layer of old paint or varnish, start with 40-60 grit sandpaper. This coarse grit removes tough coatings quickly. But, it can leave visible scratches. It’s best to follow up with finer grit sandpaper.
Medium Grit (80-120 Grit): Smoothing Out the Surface
After using coarse sandpaper, switch to 80-120 grit to smooth out any roughness and further remove the previous finish. This grit is ideal for leveling surfaces without being too harsh.
Fine Grit (150-180 Grit): Prepping for Paint
Before applying paint, use 150-180 grit sandpaper to create a smooth, even surface. This grit removes minor imperfections and prepares the wood for optimal paint adhesion.
Extra Fine Grit (220-320 Grit): Final Touch for a Smooth Finish
For an ultra-smooth finish, especially if you’re using high-gloss or semi-gloss paint, finish with 220-320 grit. This step ensures that your cabinets feel silky smooth to the touch.
Step-by-Step Guide to Sanding Cabinets Before Painting
Sanding cabinets before painting is a detailed task that needs careful attention. Below is a step-by-step explanation to help you achieve a professional finish.
Step 1: Remove Cabinet Doors and Hardware
Start by taking off all cabinet doors, drawers, and hardware like hinges, knobs, and handles. This step gives you a clear surface to work on. It also prevents accidental damage to the hardware.
Step 2: Clean the Cabinets
Before sanding, thoroughly clean the cabinets using a mild detergent or degreaser. Cabinets collect grease and dirt over time, which can affect sanding and paint sticking properly. Clean them with a damp cloth, then let them dry fully.
Step 3: Begin Sanding with Coarse Grit (If Necessary)
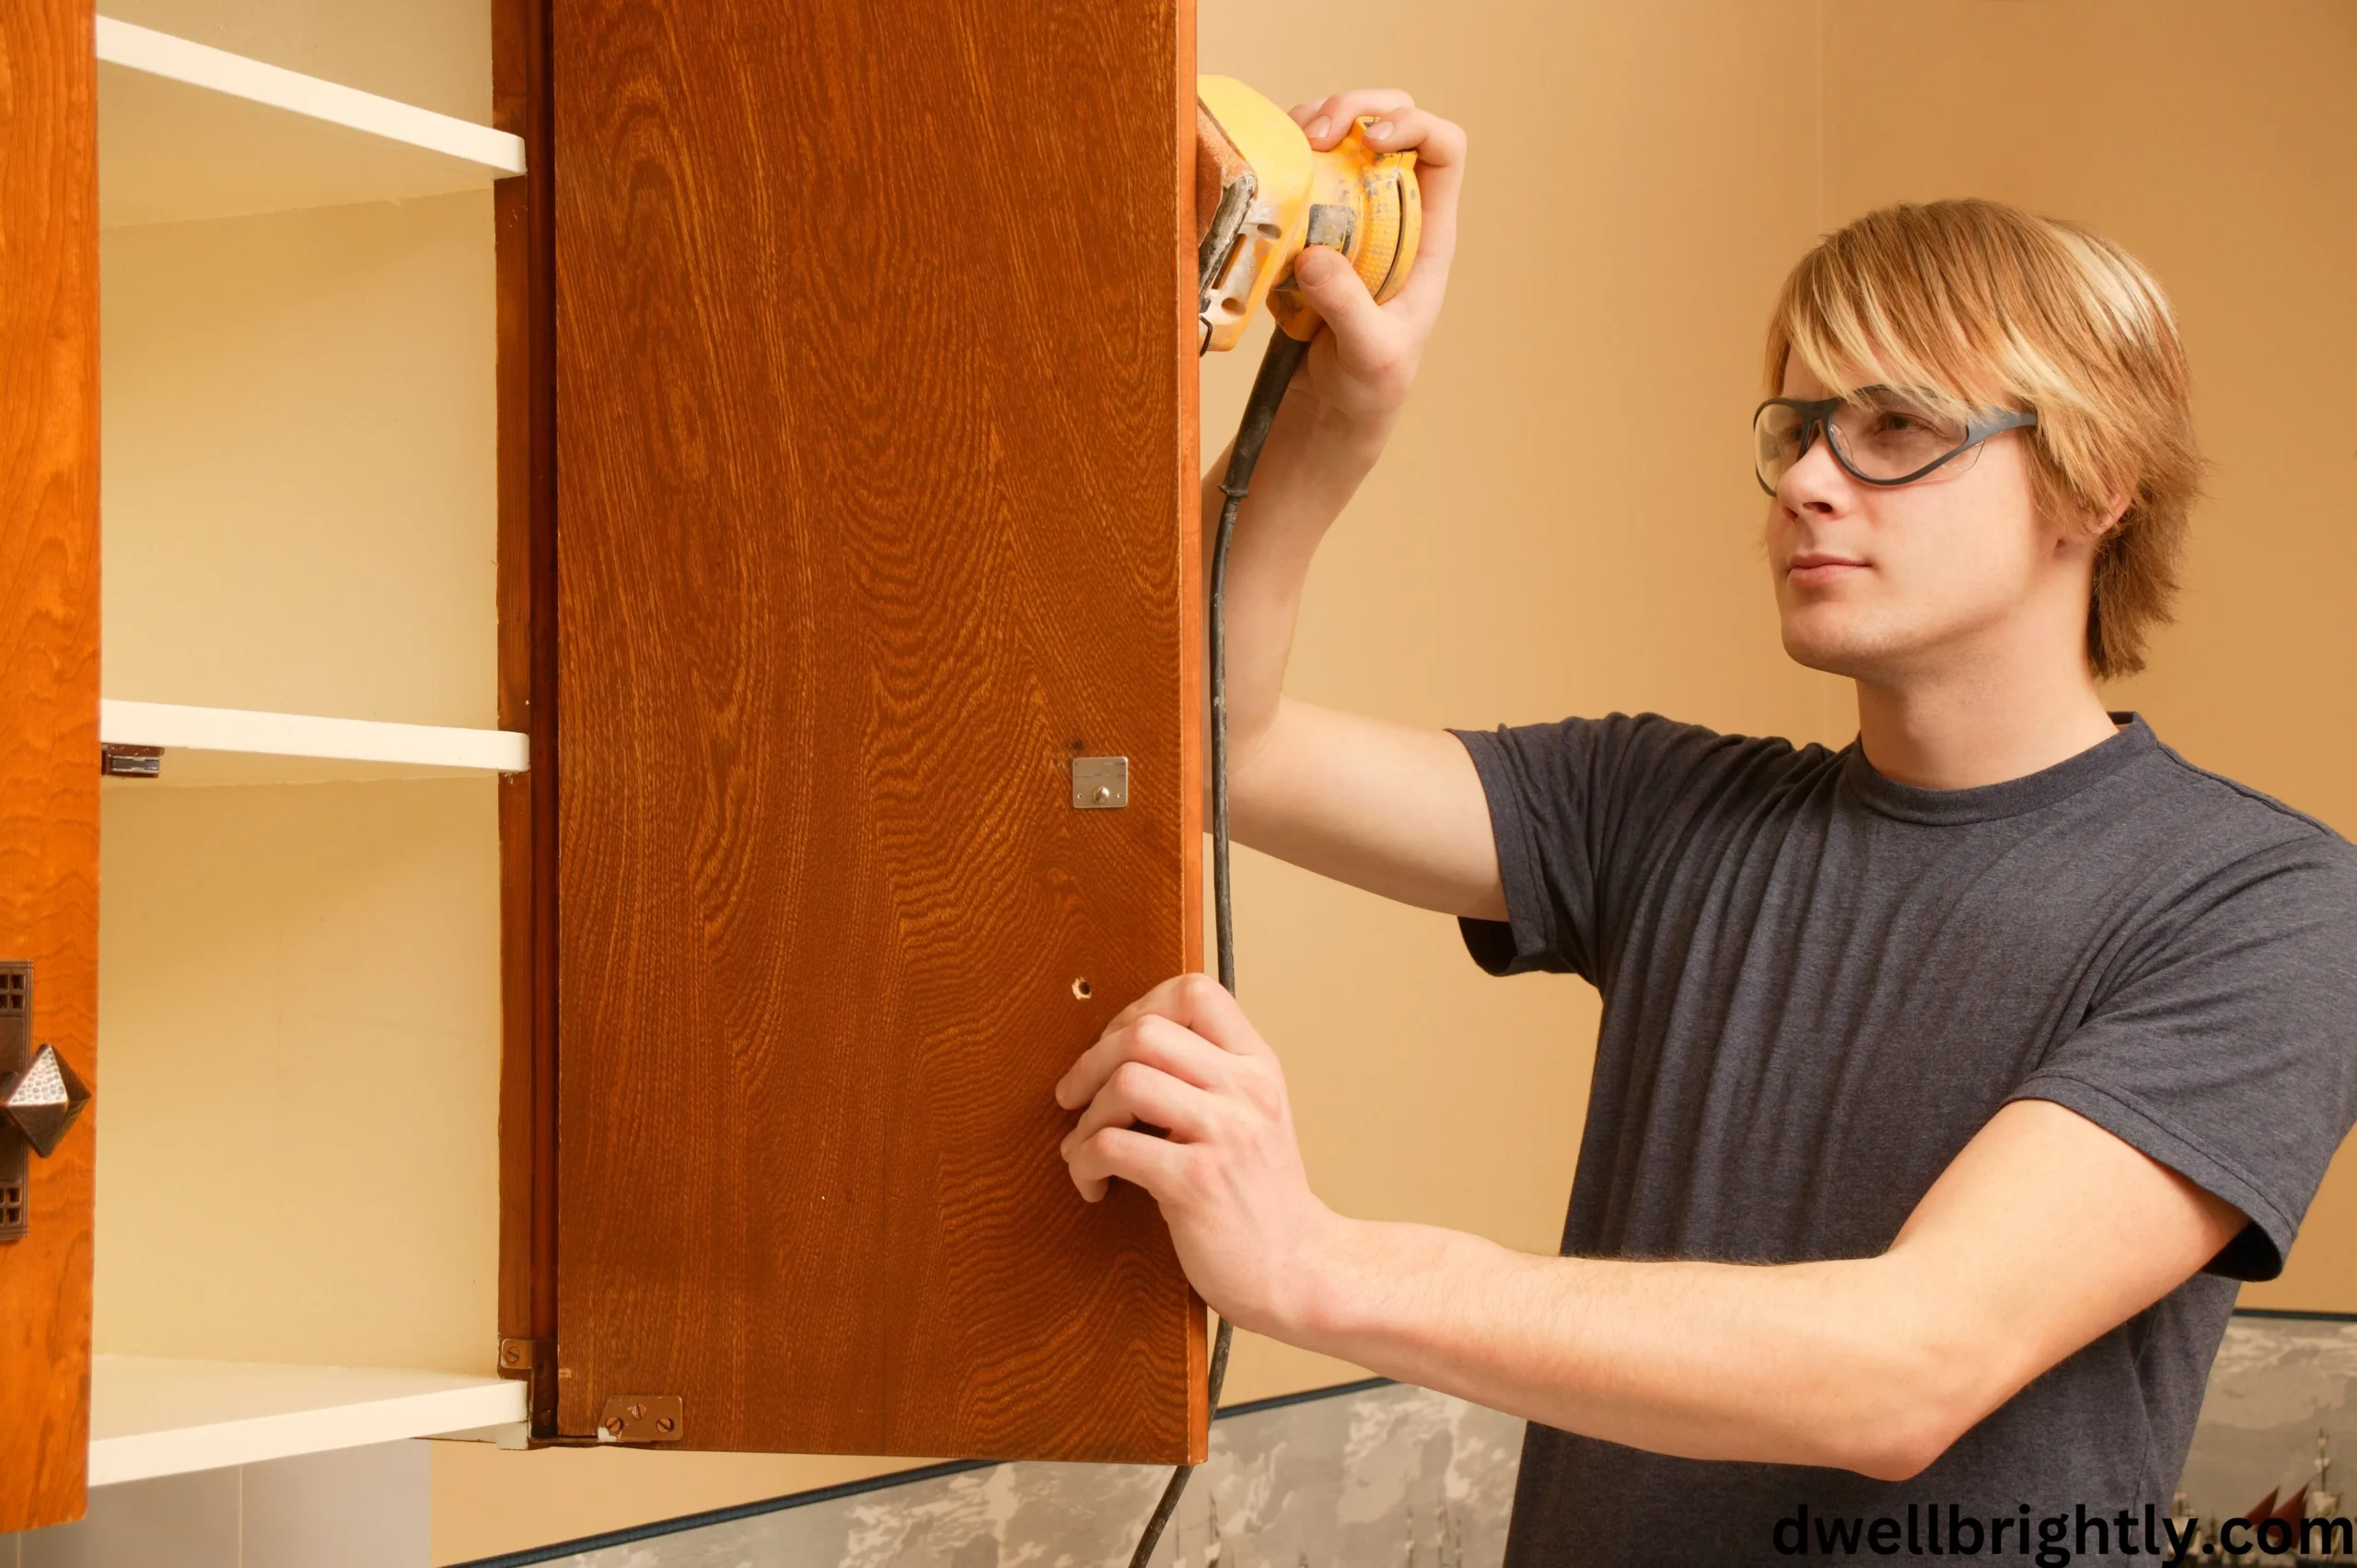
If the cabinets have a thick or glossy finish, start with 40-60 grit sandpaper. This coarse grit will help strip away old paint, stain, or varnish effectively. Use a sanding block or orbital sander for large flat areas and a detail sander for intricate edges.
Step 4: Progress to Medium Grit (80-120 Grit)
Once most of the finish is removed, switch to 80-120 grit sandpaper. This step smooths the surface and removes deeper scratches from earlier sanding. It creates an even base for further work.
Step 5: Finish with Fine Grit (150-180 Grit)
To prepare the surface for painting, use 150-180 grit sandpaper. This finer grit ensures that the surface is smooth and ready to absorb primer and paint evenly. If you desire an extra polished finish, go up to 220-320 grit.
Step 6: Remove Sanding Dust
After sanding, remove all dust properly. Use a tack cloth or microfiber cloth to remove dust. You can also use a vacuum with a brush attachment. This step is crucial for preventing imperfections in the paint job.
Step 7: Apply Primer and Paint
Now that the cabinets are clean and dust-free, apply a high-quality primer to enhance adhesion and block stains. Once the primer dries, proceed with your choice of paint, applying multiple thin coats for a smooth, durable finish.

Best Tools for Sanding Cabinets
To make sanding easier and more efficient, consider using these tools:
- Sanding block: Helps apply even pressure and prevents gouging.
- Orbital sander: Speeds up the sanding process and provides a smoother finish.
- Detail sander: Great for reaching tight corners and edges.
- Tack cloth: Removes dust particles before painting.
Common Sanding Mistakes to Avoid
- Skipping sanding: Not sanding can lead to poor paint adhesion and a rough finish.
- Using the wrong grit: Using sandpaper that’s too coarse can cause scratches. Using sandpaper that’s too fine can stop the paint from sticking properly.
- Not removing sanding dust: Leftover dust can cause bumps in your paint. It can also create imperfections.
- Over-sanding: Sanding too much can damage the wood surface and make it uneven.
Conclusion
Sanding is an important step in painting cabinets. It ensures a smooth, long-lasting, and professional finish. Use the right grit sandpaper at each stage, from removing old finishes to prepping for paint. Start with coarse grit (if needed), move to medium grit, and finish with fine grit for the best results. Take your time, follow the steps, and you’ll get stunning, professional-looking cabinets that last for years.
Now that you know what grit to sand cabinets before painting, you’re ready to start your next DIY project with confidence!