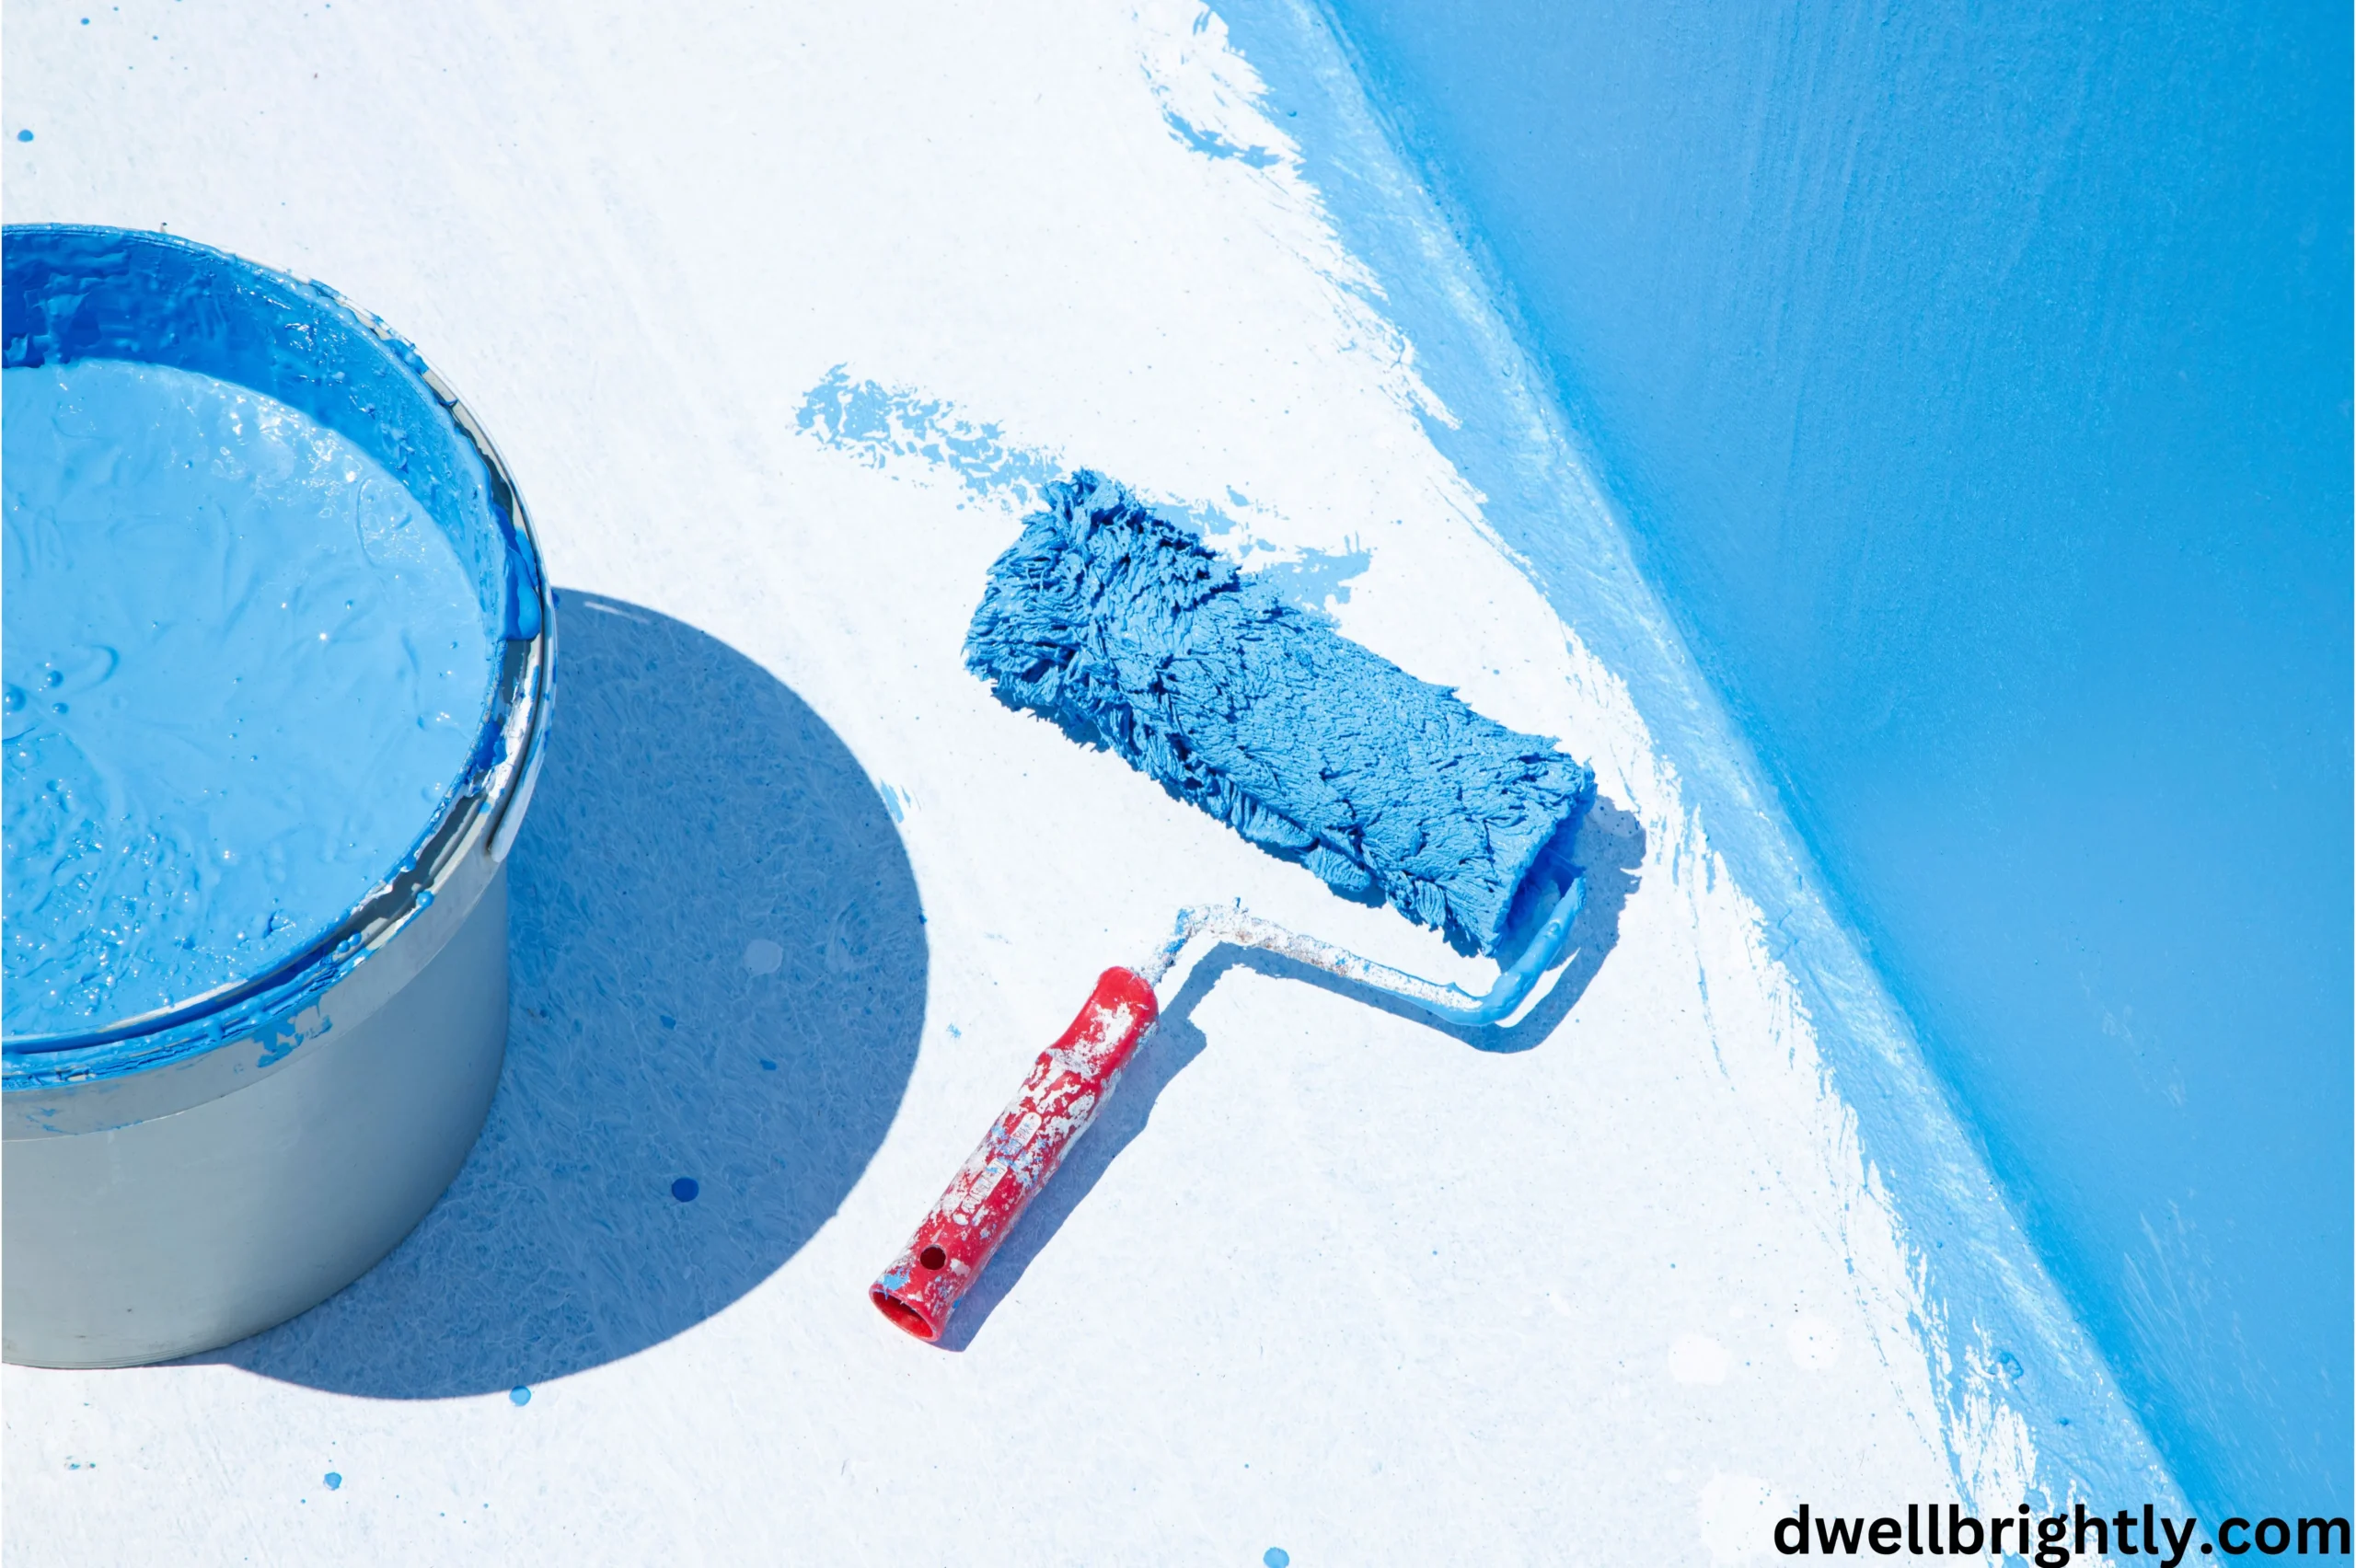
When it comes to bathroom renovations, traditional tiles have long been the go-to choice. However, with advancements in waterproof paint technology, many homeowners are now considering waterproof bathroom paint instead of tiles. Not only is this option cost-effective, but it also provides a sleek, modern look with minimal maintenance. This guide explores why waterproof paint is a good alternative to tiles. It covers the best types of paint and how to apply them for long-lasting results.
Why Choose Waterproof Bathroom Paint Over Tiles?
Tiles have been the standard choice for bathroom walls due to their water resistance and durability. Waterproof paints offer similar benefits. They eliminate grout lines that can collect mold and mildew over time. Here are some compelling reasons to opt for waterproof paint instead of tiles:
Cost-Effectiveness
Tiling a bathroom can be expensive due to the cost of materials and labor. Waterproof paint is much cheaper. It can be applied without professional help.
Easy Maintenance
Unlike tiles that require frequent scrubbing, waterproof paint is much easier to clean. A simple wipe-down with a damp cloth is often enough to maintain its appearance.
Mold and Mildew Resistance
Grout lines between tiles are prone to mold and mildew buildup. Waterproof paint provides a seamless surface, reducing the risk of bacterial growth.
Stylish and Modern Look
Waterproof paints come in various colors and finishes. They offer more customization than tiles. You can create a sleek, minimalistic look or experiment with textures to match your style.
Faster Application Process
Tiling can take several days, especially with grouting and drying times. Painting is quicker and easier. It lets you finish your bathroom makeover in less time.
Best Types of Waterproof Paint for Bathrooms
Not all paints are suitable for high-moisture environments like bathrooms. Here are some of the best waterproof paints you can use instead of tiles:
Epoxy Paint
Epoxy paint is highly durable and provides a glossy, waterproof finish. It is ideal for bathroom walls and even shower enclosures.
Acrylic Paint with Mildew Resistance
Acrylic-based paints with mildew-resistant additives are excellent for bathroom spaces. They offer high moisture resistance and are easy to clean.
Oil-Based Paint
Oil-based paints are less popular due to VOC emissions. However, they create a strong water-resistant barrier and are very durable.
Specialty Bathroom Paint
Many major brands offer bathroom-specific paints. These paints have waterproofing agents and mildew inhibitors.
How to Apply Waterproof Paint in a Bathroom?
Proper application techniques ensure that your waterproof paint remains effective and long-lasting. Here’s a detailed step-by-step guide to painting your bathroom instead of tiling:
Step 1: Prepare the Surface
- Remove any old paint, wallpaper, or loose debris from the walls.
- Wash the walls with a mild detergent solution to eliminate dirt, grease, and soap scum.
- Repair any cracks or holes using a waterproof filler and sand the surface smoothly.
- Allow the walls to fully dry before moving on to the next step.
Step 2: Apply a Waterproof Primer
- Choose a high-quality waterproof primer designed for bathrooms.
- Use a paintbrush or roller to apply an even coat of primer over the entire surface.
- Let the primer dry completely as per the manufacturer’s instructions before applying paint.
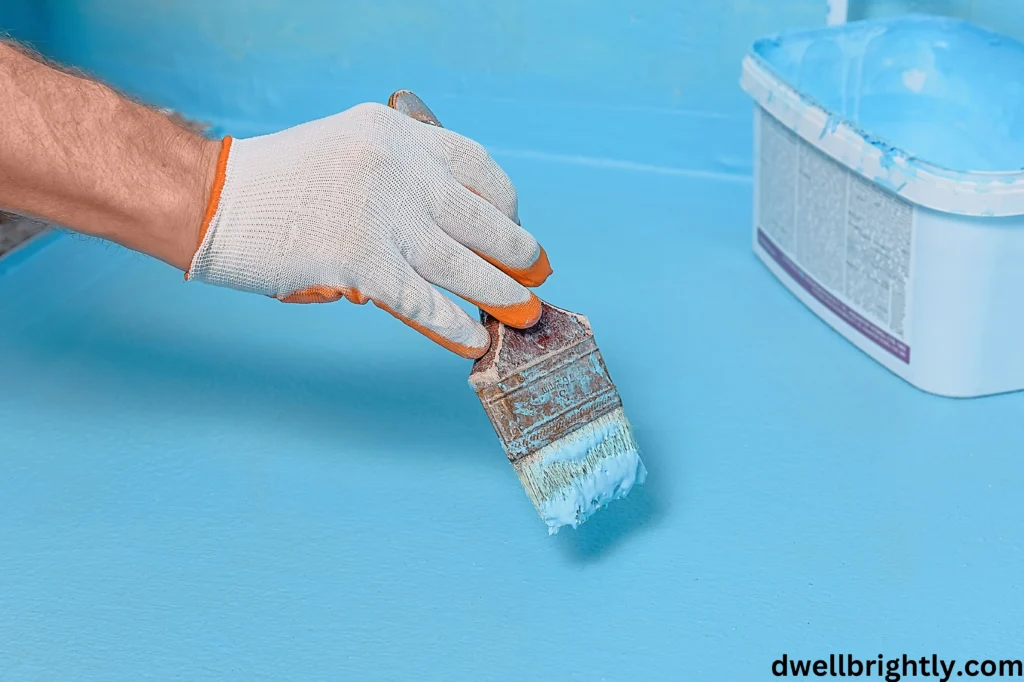
Step 3: Choose the Right Painting Tools
- Use synthetic brushes and high-density foam rollers to achieve a smooth application.
- A paint sprayer can also be used for a professional finish, especially in large bathrooms.
Step 4: Apply the First Coat of Waterproof Paint
- Stir the waterproof paint thoroughly to mix all components evenly.
- Start painting from the top of the wall and work your way down to avoid drips.
- Use a roller for big areas and a brush for the edges and corners.
- Allow the first coat to dry completely before applying another layer.
Step 5: Apply Additional Coats
- For maximum durability, apply at least two coats of waterproof paint.
- Allow proper drying time between coats as per the manufacturer’s guidelines.
- If painting a shower area, consider an extra layer of protection for better water resistance.
Step 6: Seal with a Protective Finish
- Once the final coat has dried, apply a clear waterproof sealant to enhance durability.
- Focus on high-moisture zones like shower walls and near sinks.
Step 7: Maintain Proper Ventilation
- Ensure your bathroom has adequate ventilation to prevent moisture buildup.
- Use exhaust fans or dehumidifiers to extend the life of your waterproof paint.
Follow these steps for a durable, waterproof finish. It enhances your bathroom’s look and protects against moisture damage.
Common Mistakes to Avoid
Skipping the Primer
Primer is essential for sealing porous surfaces and ensuring better paint adhesion.
Not Using the Right Paint
Regular interior paint is not waterproof. Always choose a paint that is specifically designed for high-moisture areas.
Ignoring Ventilation
Proper ventilation prevents moisture buildup, which can lead to peeling paint or mold growth.
Conclusion
Switching to waterproof bathroom paint instead of tiles is a cost-effective, stylish, and practical alternative. Pick the right paint and apply it correctly. With regular maintenance, your bathroom walls will stay durable, waterproof, and beautiful for years. Whether you’re on a budget or want a modern look, waterproof paint is a smart choice. It’s versatile for any bathroom.