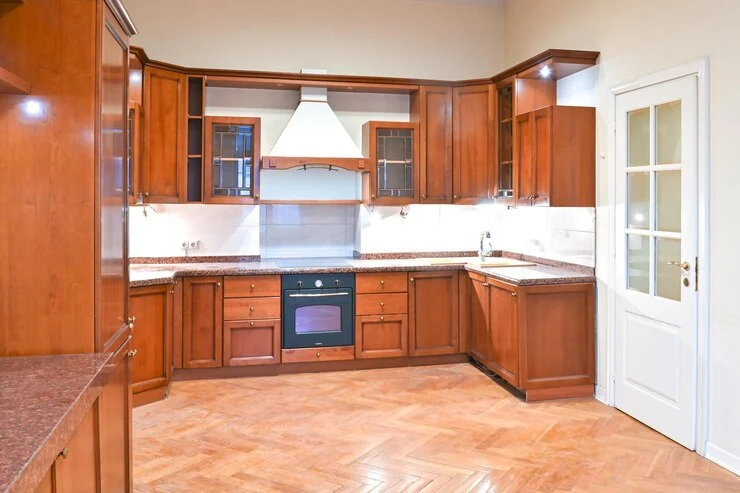
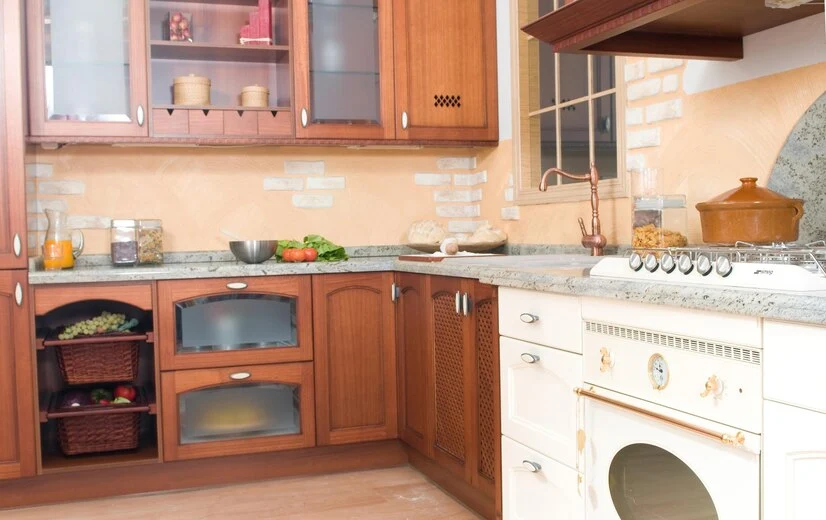
Refinishing 1950’s kitchen cabinets preserves their vintage charm. It also gives them a fresh, updated look. These mid-century cabinets are made from durable materials. They feature unique designs. Restoring them is worth the effort. Refinishing your kitchen cabinets can transform your space. It works for a retro aesthetic or a modern twist. This guide covers refinishing 1950’s kitchen cabinets. We’ll walk you through everything you need to know.
Why Refinishing 1950’s Kitchen Cabinets is a Smart Choice?
Refinishing old cabinets is more than just a budget-friendly alternative to replacing them. Here’s why it’s a great idea:
- Preservation of Vintage Style: 1950s cabinets have unique designs. Their craftsmanship is hard to replicate with modern materials.
- Cost-Effective: Refinishing is far less expensive than replacing your cabinets entirely.
- Eco-Friendly: Reusing existing materials reduces waste, making it a sustainable choice.
- Customization: Refinishing allows you to choose finishes and colors that suit your style.
Assessing the Condition of Your Cabinets
Before diving into the refinishing process, it’s essential to check the condition of your cabinets. Here’s what to check:
- Structural Integrity: Look for signs of damage such as warping, cracks, or loose joints.
- Material Type: Most 1950s cabinets are made from wood or metal. Understanding the material will guide your refinishing process.
- Existing Finish: Identify the current finish type. It could be paint, varnish, or laminate. This helps decide the best stripping method.
Gathering the Necessary Tools and Supplies
Having the right tools and materials on hand will make the refinishing process smoother. Here’s a list of essentials:
- Screwdrivers
- Sandpaper (various grits)
- Paint stripper
- Wood filler (for wooden cabinets)
- Primer
- Paint or stain
- Paintbrushes and rollers
- Clean rags
- Protective gear (gloves, goggles, and mask)
Preparing Your Workspace
Refinishing cabinets can get messy, so it’s crucial to prepare your workspace:
- Clear the Area: Remove all items from your cabinets and clear the surrounding space.
- Ventilation: Ensure the area is well-ventilated, especially if using chemical strippers or paints.
- Protect Surfaces: Use drop cloths or plastic sheets to protect your floors and countertops.
Step 1: Removing Cabinet Doors and Hardware
Start by taking off all the cabinet doors, drawers, and hardware. This makes it easier to work on every part of the cabinets.
- Use a screwdriver to remove hinges, knobs, and pulls.
- Label each door and its hardware so you can easily put them back in the right place later.
Step 2: Cleaning the Cabinets
Over the years, cabinets collect grease, dirt, and grime, which need to be cleaned off thoroughly.
- Mix a degreasing cleaner with warm water and scrub every surface of the cabinets.
- Wipe them with a clean cloth soaked in water to remove any residue, and let them dry completely.
Step 3: Stripping the Old Finish
To give your cabinets a fresh look, you need to remove the old paint or finish first.
- For wooden cabinets, sand them gently or use a paint stripper to take off the old layers of paint or varnish.
- For metal cabinets, sand the surface or apply a metal-safe paint stripper.
- Once the old finish is removed, wipe the cabinets with a damp cloth to get rid of any dust or leftover chemicals.

Step 4: Repairing and Sanding
Inspect the cabinets for any damages like cracks or holes, and fix them before moving forward.
- Use wood filler to patch up cracks or holes in wooden cabinets. Allow it to dry completely.
- Sand all surfaces with fine-grit sandpaper. This makes them smooth and ready for priming or painting.
- Clean off any sanding dust with a tack cloth or damp rag.
Step 5: Applying Primer
Priming helps the paint stick better and ensures a more even finish.
- Choose a primer that matches your cabinet material, wood or metal.
- Apply a thin, even coat using a brush or roller and let it dry fully before proceeding.
Step 6: Painting or Staining the Cabinets
This is the stage where you bring your cabinets to life with color or a natural wood look.
- For Painting: Pick a high-quality cabinet paint. Use a brush or roller to apply thin, even layers. Allow each layer to dry before applying the next.
- For Staining: Apply a wood stain with a brush or cloth to enhance the natural grain. Once it dries, seal the stain with a clear protective topcoat.
Be patient and allow enough drying time between coats for the best results.
Step 7: Reattaching Hardware and Doors
When the paint or stain has fully dried, it’s time to reassemble your cabinets.
- Use the labels you made earlier to match each door to its hardware and hinges.
- Carefully screw everything back in place, ensuring the doors and drawers are aligned properly.
Tips for Maintaining Refinished Cabinets
To keep your refinished cabinets looking their best:
- Wash them regularly with a gentle soap and water mix.
- Avoid harsh chemicals that could damage the finish.
- Address spills and stains promptly to prevent discoloration.
Common Mistakes to Avoid
Refinishing cabinets can be challenging, but avoiding these common mistakes will save you time and effort:
- Skipping Preparation: Failing to clean or sand properly can result in a poor finish.
- Rushing the Process: Allow each step to dry completely before moving to the next.
- Using Low-Quality Materials: Use high-quality paint and primer. Invest in good tools for a professional result.
Conclusion
Refinishing 1950’s kitchen cabinets is rewarding. It breathes new life into your kitchen. It also preserves its vintage charm. With the right tools, techniques, and a bit of patience, you can achieve stunning results. Whether you’re restoring the original look or updating it with a modern twist, this guide has everything you need. Follow each step for a successful project. Happy refinishing!
