When it comes to home improvement, ceilings often get overlooked. A well-painted ceiling can transform your space. It adds elegance and elevates the overall look. Ceilings can show imperfections over time. Scuffs, stains, and peeling paint are common issues. Knowing how to touch up ceiling paint is a valuable skill. It saves time, cuts costs, and keeps your home looking great.
This guide covers step-by-step instructions, tips, and tools for ceiling paint touch-ups. By the end, you’ll confidently handle any touch-up project.
Why Touching Up Ceiling Paint is Important?
Ceilings face wear and tear from water stains, smoke, or aging. Ignoring these issues can:
- Make your room look less appealing.
- Lead to larger issues like mold growth or peeling paint.
- Lower the value of your home.
Fixing these issues quickly keeps your ceilings strong and looking good.
Tools and Materials Needed
Before starting, collect these tools and materials for a smooth process:
- Drop cloths or plastic sheeting
- Painter’s tape
- Ladder or step stool
- Sandpaper (medium and fine grit)
- Paintbrush or roller (depending on the area size)
- Matching ceiling paint
- Paint tray
- Spackle or drywall compound
- Putty knife
- Primer (if necessary)
- Clean, damp cloth
Having these items on hand will make the job much easier and more efficient.
Step 1: Assess the Damage
The first step is to check the condition of your ceiling. Identify areas that need touch-ups, such as:
- Small cracks or chips
- Stains from water or smoke
- Peeling or bubbling paint
Take note of the size and severity of each issue. This will help you decide the best approach for your project.
Step 2: Clean the Ceiling
Dust and grime build up on ceilings over time. This can affect how well the paint sticks. Use a clean, damp cloth to wipe down the affected areas. For stubborn stains, mix a mild detergent with water and gently scrub the surface. Let the ceiling dry fully before continuing.
Step 3: Prepare the Area
Preparation is key to a successful touch-up job. Follow these steps to prep the area:
- Protect your furniture and floors: Lay down drop cloths or plastic sheeting to catch any drips or debris.
- Use painter’s tape: Tape off the edges of the ceiling and adjacent walls to ensure clean lines.
- Set up a sturdy ladder: Make sure your ladder or step stool is secure and at the right height for comfortable access.
Step 4: Repair Any Imperfections
Before applying paint, repair any cracks, holes, or peeling areas:
- Fill cracks and holes: Use spackle or drywall compound and a putty knife to fill the damaged areas. Smooth it out and allow it to dry completely.
- Sand the surface: Once the spackle is dry, sand the area with medium-grit sandpaper to create a smooth surface. Use fine-grit sandpaper to smooth the surface for a clean finish.
- Prime the area: If the repaired section is large or if you’re dealing with stains, apply a thin layer of primer to ensure even paint coverage.
Step 5: Match the Paint
Matching the existing ceiling paint is crucial for a seamless touch-up. Here are some tips:
- Check the label: If you have leftover paint from the original job, use it for the touch-up.
- Visit a paint store: Bring a small paint chip from your ceiling to a professional paint store for color matching.
- Test the color: Apply a small amount of paint to a hidden area of the ceiling to confirm the match.
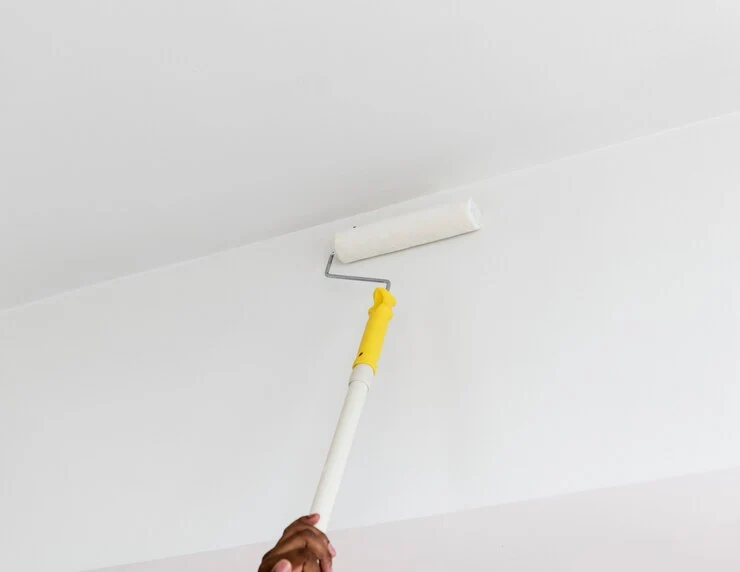
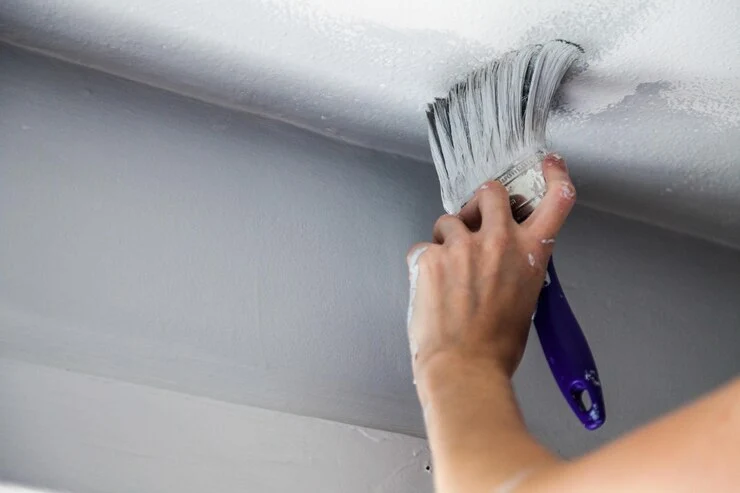
Step 6: Apply the Paint
Now it’s time to apply the paint. Follow these steps for the best results:
- Use the right tools: For small areas, a high-quality brush works well. For larger sections, use a roller with a smooth surface.
- Blend the edges: Feather the paint outward from the repaired area to blend it with the surrounding surface.
- Apply thin layers: Avoid thick coats of paint, as they can lead to uneven drying. Let each layer dry before adding another one.
- Work in good lighting: Proper lighting helps you see imperfections and ensures an even application.
Step 7: Inspect and Repeat if Necessary
Once the paint is dry, inspect the area to ensure it blends seamlessly with the rest of the ceiling. If needed, apply additional layers of paint or make minor adjustments to achieve the desired result.
Common Mistakes to Avoid
Avoid these mistakes to ensure a professional finish:
- Skipping the cleaning step can cause the paint to not stick properly.
- Neglecting to use primer on stained or repaired areas.
- Applying too much paint at once, which can cause drips or an uneven finish.
- Using the wrong type of paint or finish for your ceiling.
Tips for Maintaining a Perfect Ceiling
To keep your ceiling looking fresh and flawless:
- Regularly dust and clean: Prevent buildup of dirt and grime.
- Address issues promptly: Fix minor damage as soon as it appears to prevent it from worsening.
- Use quality paint: Invest in durable, washable paint to minimize future touch-ups.
Conclusion
Touching up ceiling paint might seem difficult, but with the right tools, prep, and methods, anyone can do it. By following this step-by-step guide on how to touch up ceiling paint, you’ll achieve a flawless finish that enhances the beauty and value of your home. Remember, paying attention to details is important. A little effort can keep your ceiling looking great.
So, roll up your sleeves and get started! With these tips, you’ll feel confident tackling any ceiling touch-up project.