If you have thermofoil cabinets in your kitchen or bathroom, you might be wondering, can you paint thermofoil cabinets to give them a fresh new look. Thermofoil cabinets are affordable and durable. However, their plastic-like surface makes painting tricky. Yes, you can paint thermofoil cabinets. But, proper preparation and techniques are needed for lasting results.
This guide covers painting thermofoil cabinets. You’ll learn about the best materials, steps, and tips for a flawless finish.
What Are Thermofoil Cabinets?
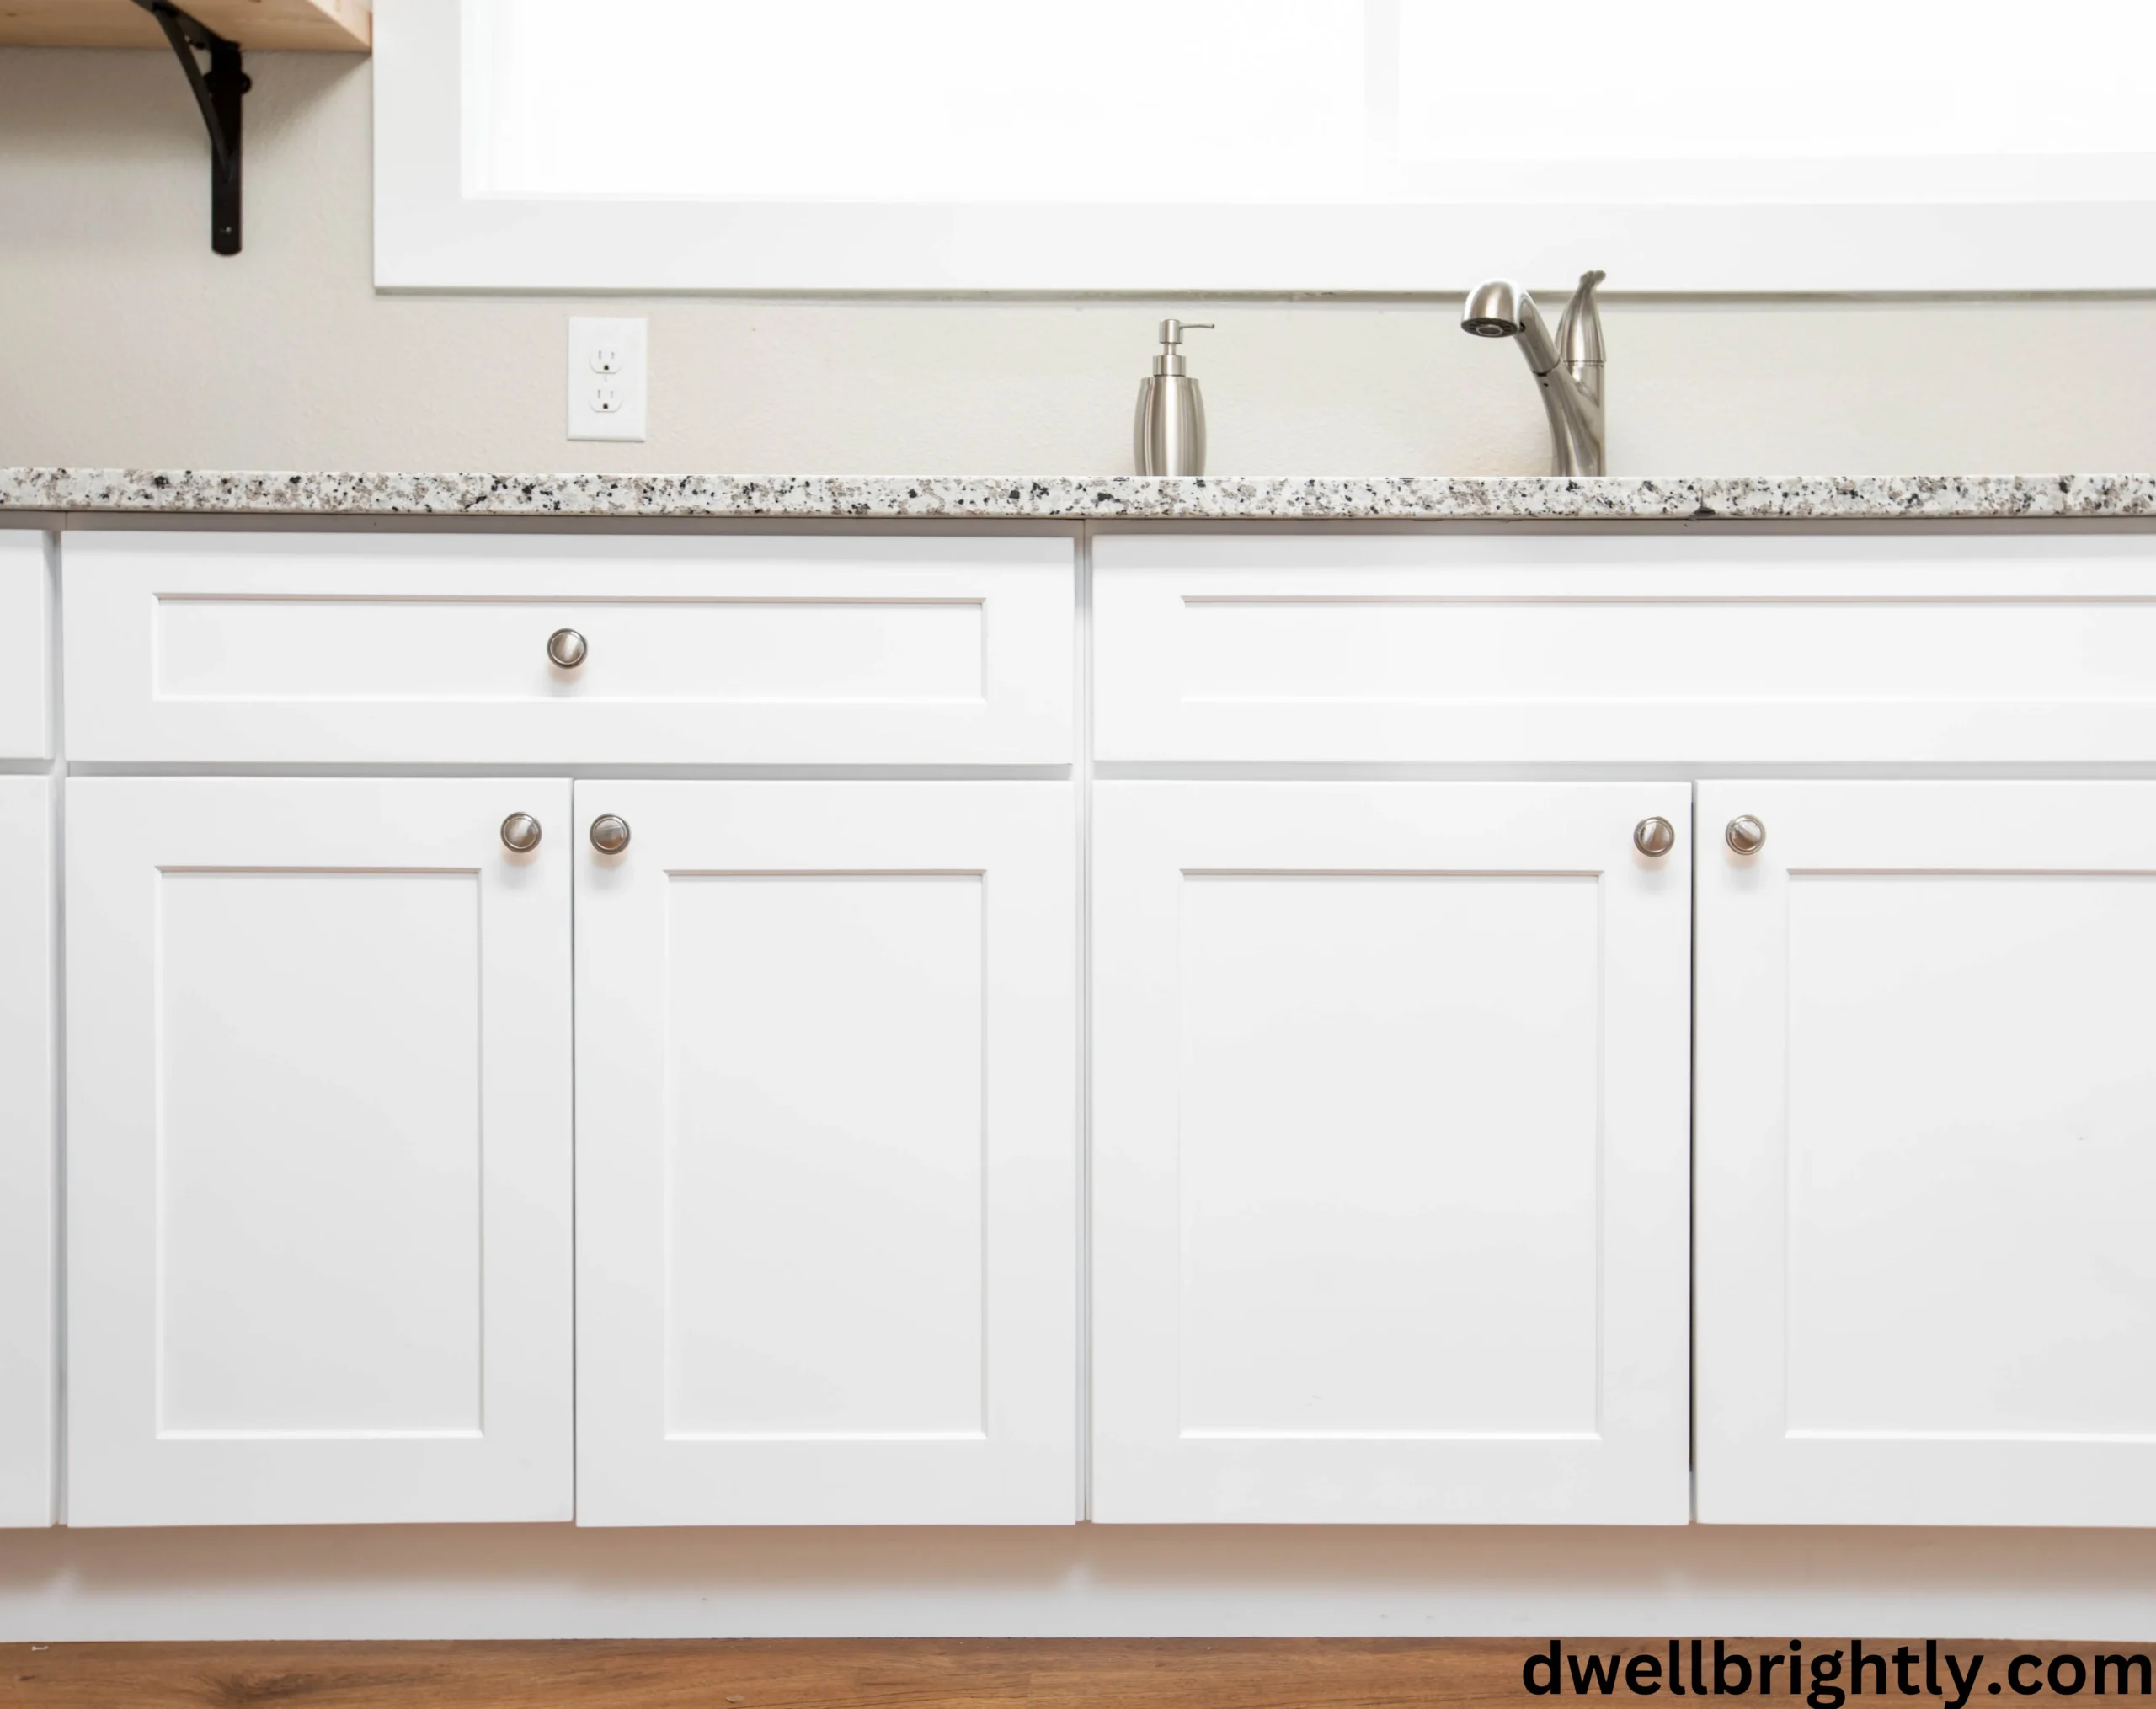
Before diving into the painting process, let’s understand what thermofoil cabinets are. These cabinets are made by applying a thin vinyl layer (thermofoil) over MDF (medium-density fiberboard). The surface is flat and simple to clean. It is also moisture-resistant and mimics painted wood.
Can You Paint Thermofoil Cabinets?
Yes, you can paint thermofoil cabinets, but you need to take extra steps to ensure the paint adheres properly. Thermofoil’s plastic-like surface doesn’t absorb paint like wood. Proper preparation is key for a durable finish.
Tools and Materials Needed
Before you begin, gather the following materials:
Essential Tools:
- Screwdriver (for removing cabinet doors and hardware)
- Sandpaper (220-grit and 320-grit)
- Tack cloth (for wiping dust)
- High-quality paintbrushes or foam rollers
- Painter’s tape
- Drop cloths
Materials:
- Degreaser or TSP (Trisodium Phosphate) for cleaning
- Adhesion-promoting primer (such as Zinsser BIN or KILZ Adhesion Primer)
- High-quality paint (acrylic latex or enamel-based paint)
- Clear polyurethane topcoat (optional, for added durability)
Step-by-Step Guide to Painting Thermofoil Cabinets
Step 1. Remove Cabinet Doors and Hardware
Start by removing all cabinet doors, drawers, and hardware (knobs, handles, and hinges). This makes the painting process much easier and prevents paint from getting on unwanted areas.
Step 2. Clean the Surfaces
Thermofoil surfaces tend to collect grease and grime, so thorough cleaning is crucial. Use a strong degreaser or TSP cleaner to remove any dirt, grease, and residue. Use a damp cloth to clean the cabinets and let them dry fully.
Step 3. Sand the Surface
Since thermofoil is non-porous, light sanding is necessary to help the primer adhere. Use 220-grit sandpaper to lightly sand the entire surface, creating a slightly rough texture. Use a tack cloth to remove the dust.
Step 4. Apply an Adhesion Primer
This is the most critical step. Apply a high-quality bonding primer that is designed for slick surfaces. Zinsser BIN Shellac-Based Primer or KILZ Adhesion Primer are great options. Use a foam roller or brush to apply a thin, even coat. Allow the primer to dry as per the instructions on the label.
Step 5. Sand Again (Optional but Recommended)
For an ultra-smooth finish, lightly sand the primed surface with 320-grit sandpaper once it is dry. Use a tack cloth to remove any dust.
Step 6. Apply Paint
Now it’s time to paint! Use a high-quality acrylic latex or enamel-based paint for durability. Apply thin coats with a foam roller or brush, allowing each coat to dry completely before applying the next. Two to three coats should be enough for full coverage.
Step 7. Apply a Protective Topcoat (Optional)
For extra durability, use a clear polyurethane topcoat. This is especially useful in kitchens and bathrooms. This adds an extra layer of protection against scratches and moisture.
Step 8. Reassemble the Cabinets
Once the paint is completely dry, reinstall the cabinet doors and hardware. Be gentle when handling the freshly painted surfaces to avoid chipping.
Tips for a Professional Finish
- Use thin coats of paint to prevent drips and streaks.
- Wait for each coat to dry completely before adding the next one.
- Use high-quality tools (foam rollers and brushes) for a smooth finish.
- Avoid painting in humid conditions to prevent paint from peeling.
- Give it enough curing time before heavy use, ideally a few days.
Pros and Cons of Thermofoil Cabinets
Pros
- Affordable compared to solid wood cabinets.
- Smooth, uniform finish with no visible seams.
- They resist moisture and stains, making them perfect for kitchens and bathrooms.
- Easy to maintain and clean.
Cons
- Prone to peeling and chipping over time, especially near heat sources.
- Difficult to repair once damaged.
- Painting them requires special preparation due to the slick surface.
FAQs
How Long Does Paint Last on Thermofoil Cabinets?
If properly prepped and sealed, painted thermofoil cabinets can last 5+ years without peeling or chipping.
Can You Remove Thermofoil Before Painting?
Yes, if the thermofoil is peeling, you can peel it off and paint the MDF underneath. But, this is a more labor-intensive process.
What Type of Paint Works Best on Thermofoil Cabinets?
Acrylic latex or enamel-based paints work best because they adhere well and offer durability.
Can You Spray Paint Thermofoil Cabinets?
Yes, spray painting can provide an even smoother finish, but it requires more prep work, including masking off surrounding areas.
Can Thermofoil Cabinets Be Refaced?
Yes, thermofoil cabinets can be refaced. You can replace the doors with new ones or apply a new layer of thermofoil for a fresh look.
Why Do Thermofoil Cabinets Peel?
Thermofoil cabinets peel due to heat, moisture, and age. Over time, the adhesive holding the thermofoil to the MDF weakens, causing it to separate.
Conclusion
Painting thermofoil cabinets is budget-friendly. It updates your kitchen or bathroom without replacement. With proper preparation and the right materials, you can achieve a professional finish. Careful application will ensure durability and transform your space.
If you follow these steps, you’ll have beautifully painted cabinets that will last for years. So, grab your paintbrush and start your DIY makeover today!