Key Points
- Refinishing a wooden play kitchen restores its beauty, allows customization, and extends its life.
- The process involves cleaning, sanding, priming, painting with child-safe materials, and optional protective finishes.
- It’s an eco-friendly and cost-effective way to repurpose an old toy into a cherished masterpiece.
Intro
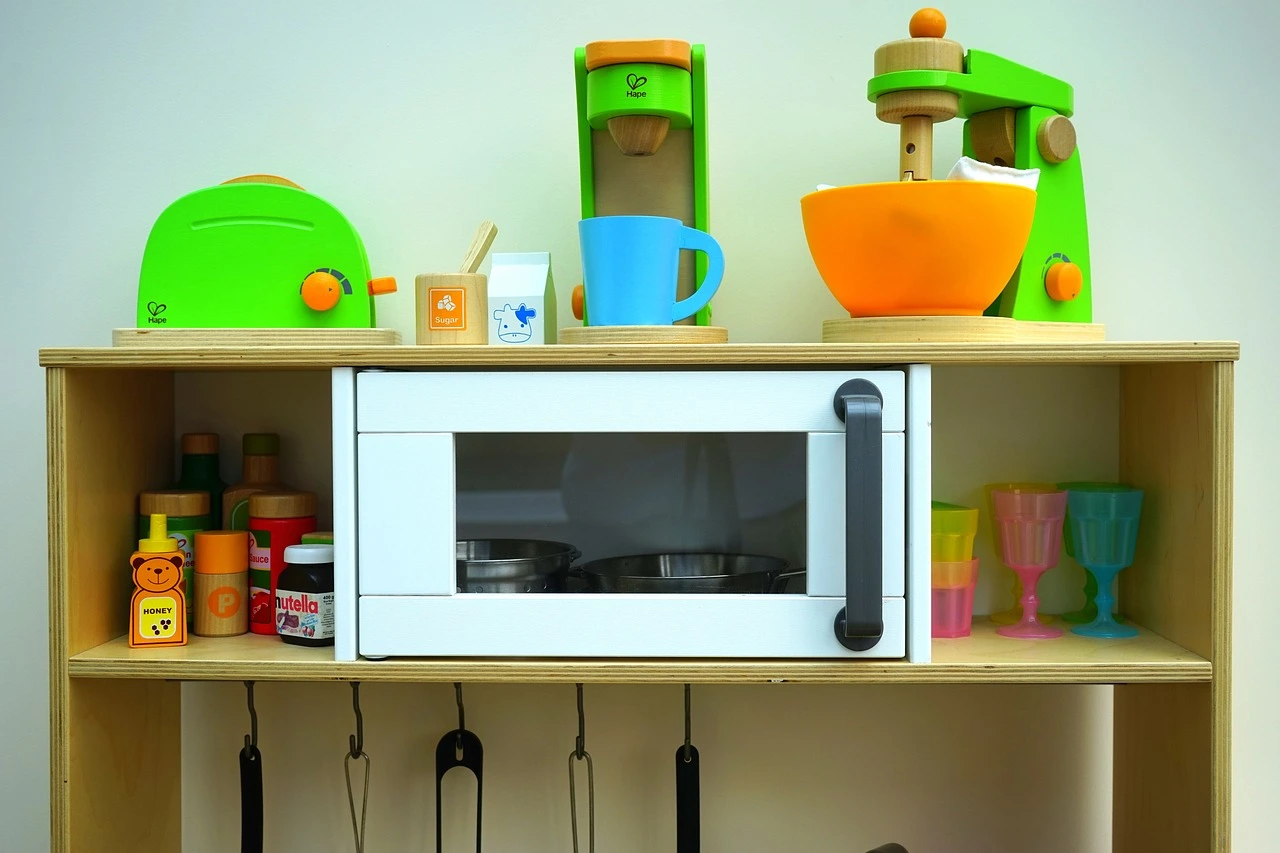
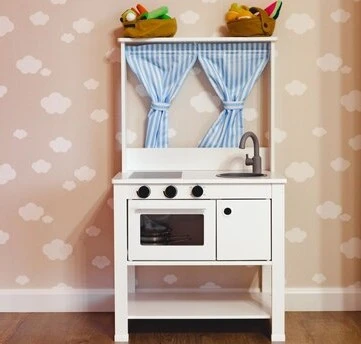
Wooden play kitchens are timeless toys that can spark creativity and imagination in children. Over time, these beloved play sets can start to wear out. Instead of discarding an old wooden play kitchen, why not give it a new life? Refinishing it can be a rewarding DIY project that saves money and creates a custom, one-of-a-kind piece for your child. In this guide, we will walk you through how to refinish a wooden play kitchen step by step.
Why Refinish a Wooden Play Kitchen?
Refinishing a wooden play kitchen offers several benefits:
- Restoration of Beauty: A refinished kitchen looks as good as new, if not better.
- Customization: Choose colors and finishes that match your child’s preferences or your home decor.
- Eco-Friendly: Repurposing old toys reduces waste and promotes sustainability.
- Cost-Effective: Refinishing is far cheaper than purchasing a brand-new play kitchen.
- Sentimental Value: Revamping an heirloom or cherished toy can add emotional significance to the project.
Tools and Materials Needed
Before starting your project, gather the necessary tools and materials. Here’s a checklist to help you:
- Sandpaper (80-grit, 120-grit, and 220-grit)
- Screwdrivers
- Wood filler
- Primer
- Paint (non-toxic, child-safe)
- Paintbrushes and rollers
- Clear protective finish (optional)
- Cleaning cloths
- Mild soap and water
- Wood glue (if repairs are needed)
- Drop cloths or old newspapers
- Painter’s tape
Step 1: Disassemble the Play Kitchen
The first step in refinishing is to disassemble the play kitchen. Use a screwdriver to remove any detachable parts, such as doors, knobs, and accessories. This makes the sanding and painting process much easier and ensures even coverage.
Pro Tip:
Label the screws and small parts in separate bags to avoid losing them or mixing them up. Taking photos before disassembly can also help during reassembly.
Step 2: Clean the Surfaces
Over time, dirt, grease, and grime can build up on the play kitchen. Use a cloth dipped in a solution of mild soap and water to thoroughly clean all surfaces. Stubborn stains can be cleaned using a mix of baking soda and water. Allow the kitchen to dry completely before moving on to the next step.
Step 3: Sand the Surfaces
Sanding is crucial for removing old paint, stains, and scratches. Start with 80-grit sandpaper to remove the toughest layers, then progress to 120-grit for a smoother finish. Finally, use 220-grit sandpaper to ensure the surface is completely smooth and ready for priming.
Important Note:
Sand along the wood grain to prevent damage. Wear a dust mask to protect yourself from dust.
Step 4: Repair Any Damage
Inspect the wooden play kitchen for cracks, dents, or holes. Use wood filler to repair these imperfections. After the filler dries, sand it until it is level with the wood surface. If any parts are loose or wobbly, use wood glue to reinforce them.
Step 5: Apply Primer
Primer helps the paint stick better and last longer. Use a paintbrush or roller to apply a thin, even coat of primer to all surfaces. Let it dry fully before moving to the next step.
Child-Safe Tip:
Choose a primer that is low in VOCs (volatile organic compounds) to ensure it is safe for children. White primer works well as a base for most colors.
Step 6: Paint the Play Kitchen
Now comes the fun part! Select non-toxic, child-safe paint in your desired colors. Use a paintbrush for small, detailed areas and a roller for larger surfaces. Apply at least two coats, letting each one dry fully before adding the next.
Creative Ideas:
- Chalkboard Section: Apply chalkboard paint to one panel for added functionality.
- Metallic Accents: Use metallic paint for knobs and handles to mimic real appliances.
- Color Themes: Match the play kitchen to your child’s favorite colors or your home’s aesthetic.
- Personalization: Add your child’s name or stenciled designs for a unique touch.
Step 7: Reassemble the Play Kitchen
Once the paint has dried, reassemble the play kitchen. Secure all screws and attach any knobs or handles. Make sure doors or drawers open and close easily. Double-check to ensure everything is sturdy and functional.
Tip:
Apply felt pads to the bottom of the play kitchen to prevent scratches on floors.
Step 8: Apply a Protective Finish (Optional)
For extra protection, think about adding a clear finish. Choose a non-toxic, water-based sealant to keep the play kitchen safe for children. This step is particularly useful if the kitchen will be heavily used. Allow the finish to cure for the recommended time before use.
Maintenance Tips for a Refurbished Play Kitchen
To keep your refinished play kitchen looking its best:
- Clean it regularly with a damp cloth.
- Avoid using harsh chemicals or abrasive cleaners.
- Touch up scratches or chips as needed to maintain the finish.
Frequently Asked Questions
Can I use spray paint for refinishing?
Yes, you can use spray paint, but ensure it is non-toxic and suitable for wooden surfaces. Spray paint can provide a smooth, even finish, but proper ventilation is essential during application.
How long does it take to refinish a wooden play kitchen?
The process can take 2-3 days, including drying times for paint and primer.
Is refinishing a play kitchen safe for children?
Absolutely! As long as you use child-safe, non-toxic materials and finishes, the refinished play kitchen will be safe for your little ones.
What’s the best way to give a plastic play kitchen a makeover?
For a plastic play kitchen, clean the surface thoroughly to remove grease and dirt. Use a primer made for plastic to help the paint stick. Paint with spray paint or brush-on paint made for plastic, ensuring it is child-safe. Add decals or new accessories for a personalized touch.
How can I wrap a toy kitchen instead of painting it?
Wrapping a toy kitchen involves using adhesive vinyl or contact paper to cover surfaces. Clean and sand the area lightly to ensure the wrap adheres. Measure and cut the vinyl to fit, then apply carefully, smoothing out air bubbles with a squeegee or credit card. This method is a quick way to refresh the look without painting.
How can I customize an IKEA play kitchen?
The IKEA play kitchen, known for its versatility, can be customized with paint, vinyl wraps, or hardware upgrades. Sand lightly, prime the surfaces, and paint with child-safe colors. Add stick-on tiles or new handles to give it a unique appearance. It’s a great base for creative makeovers.
Do I need to sand an IKEA play kitchen before painting it?
Yes, lightly sanding an IKEA play kitchen is recommended before painting. This helps the primer and paint adhere better to the smooth surface. Use fine-grit sandpaper and clean the dust thoroughly before applying primer and paint for the best results.
Conclusion
Refinishing a wooden play kitchen is a fantastic way to breathe new life into an old toy. By following these detailed steps, you can create a beautiful, customized play kitchen that your child will cherish. Not only will you save money, but you’ll also contribute to a more sustainable lifestyle by repurposing old items. So, gather your materials, unleash your creativity, and transform that worn-out play kitchen into a masterpiece that will provide endless hours of imaginative play!